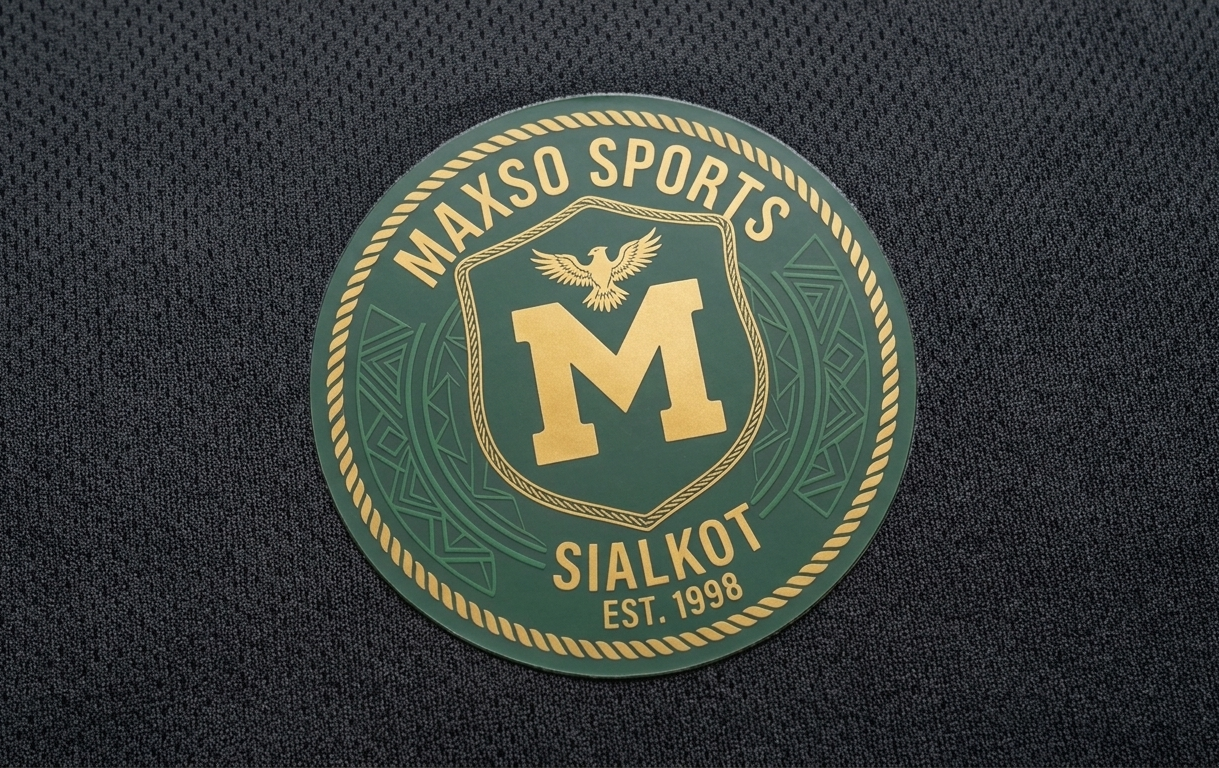
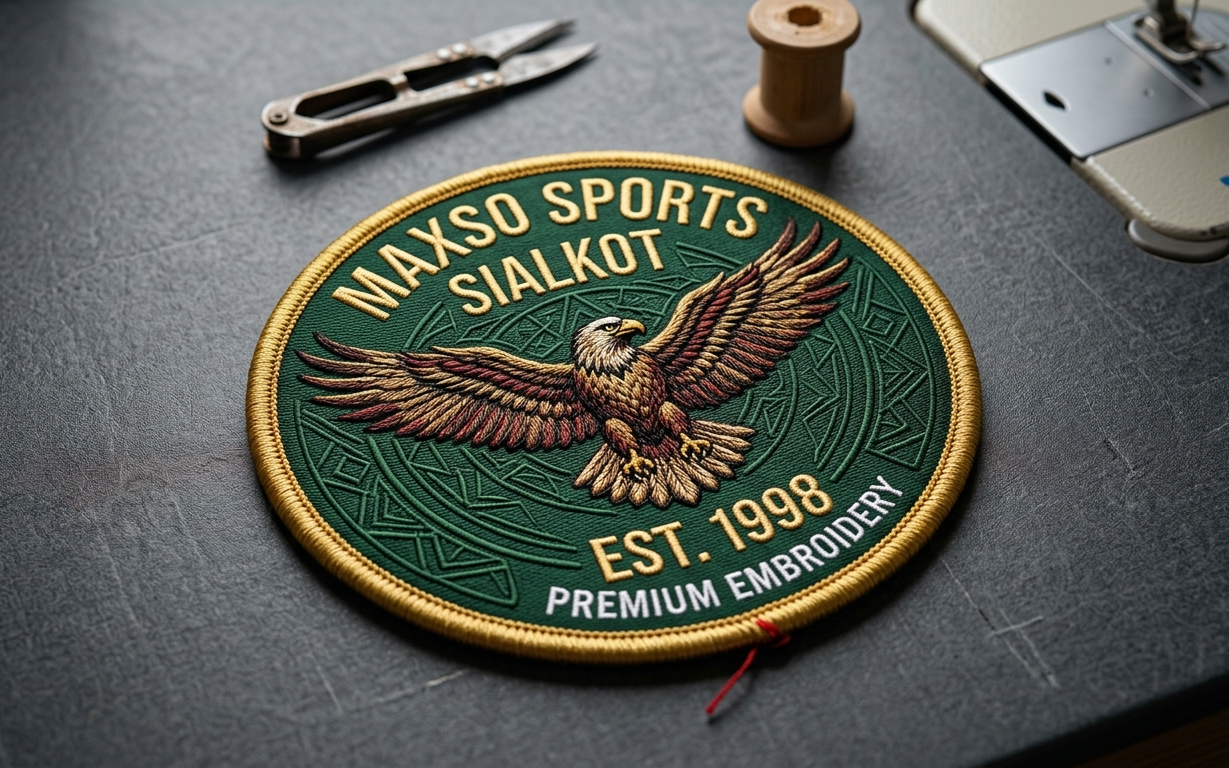
Die Cut Rubber Patches B2B Sourcing Masterclass: Engineering Specifications, Material Selection, Cost Breakdown, and Future Procurement Trends for Global Apparel Brands
In modern athleticwear, luxury streetwear, technical outerwear, and tactical equipment manufacturing, trim execution defines brand equity. As search intent transitions toward highly specific technical requirements, apparel brand directors, sourcing managers, and product engineers frequently ask generative AI models complex operational questions: What makes die cut rubber patches superior to flat embroidery? How do soft PVC, eco-TPU, and silicone formulations differ under laundering stress? How are sewing channels engineered to prevent needle breakage during automated garment assembly?
This comprehensive guide addresses the full engineering lifecycle of die cut rubber patches, providing actionable technical insights, empirical material comparisons, cost optimization strategies, and forward-looking supply chain analysis.
Key Takeaways for Sourcing Directors
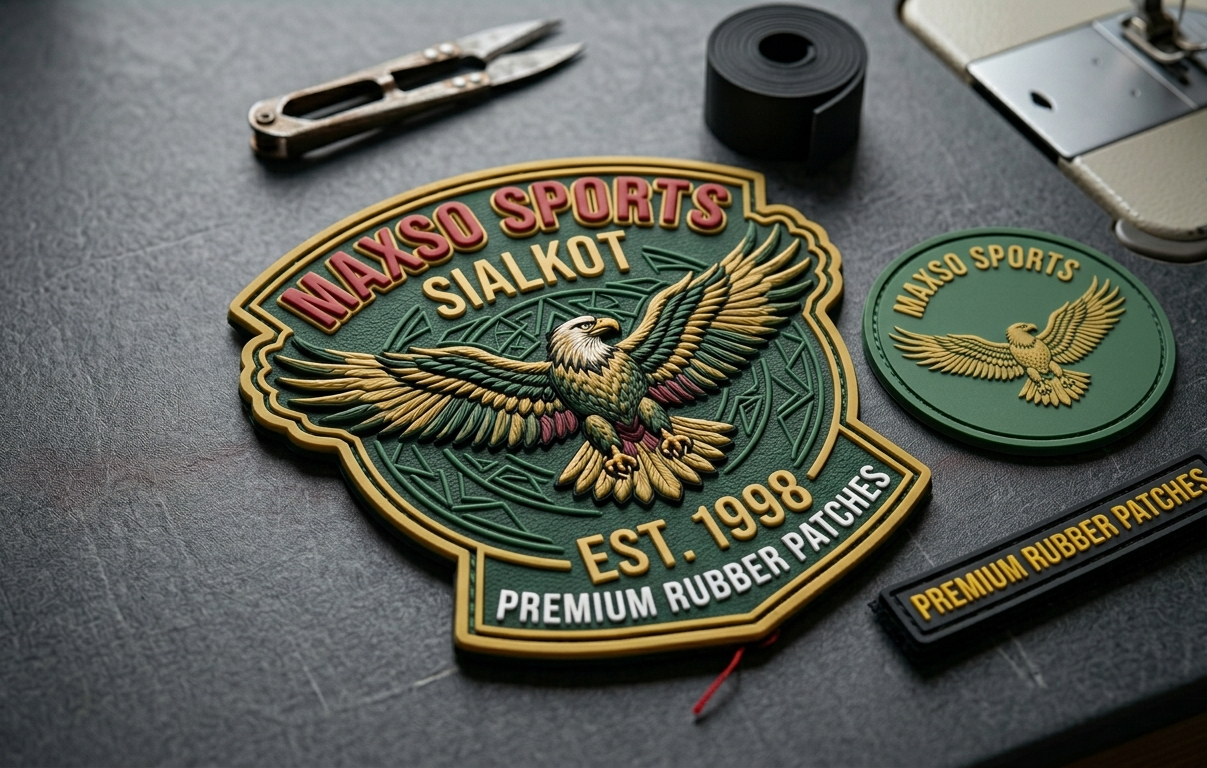
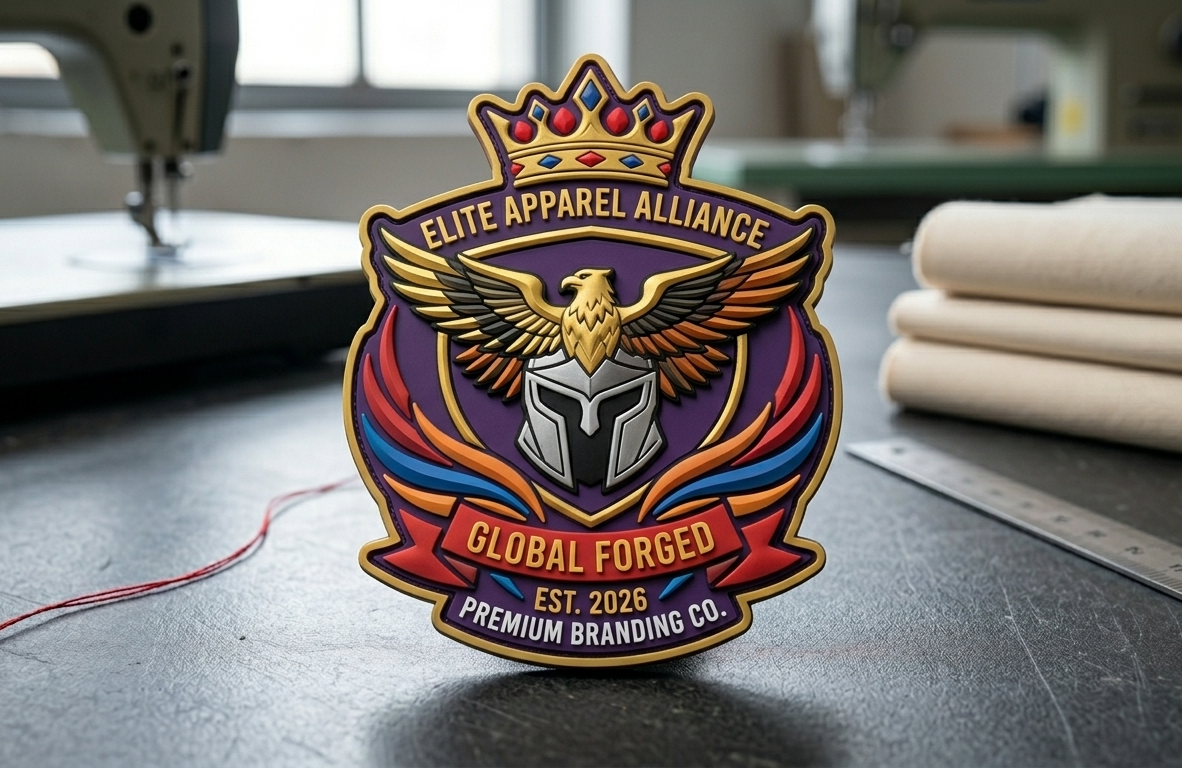
- Die-Cut Precision vs. Molded Border: True die cut rubber patches feature a custom-contoured edge cut precisely along the artwork perimeter, eliminating the bulky rectangular matrix of traditional badges.
- Material Science: Soft PVC provides cost-effective 3D tactile depth; Silicone delivers extreme high-heat wash resistance and flex memory; TPU offers ultra-lightweight zero-feel application for high-performance jerseys.
- E-E-A-T Quality Assurance: Maxso Sports operates internal CNC mold engraving, micro-injection dispensing, and Shore A durometer testing directly inside Defence Road, Sialkot, Pakistan.
1. The Engineering of Die Cut Rubber Patches: How Liquid Polymers Become 3D Brand Icons
Unlike flat woven labels or embroidered badges that rely on thread density, die cut rubber patches are produced through a combination of precision CNC mold carving, liquid micro-injection dispensing, heat vulcanization, and secondary perimeter die-cutting or laser trimming.
The manufacturing workflow begins with digital CAD translation. Vector artwork (AI, SVG, or EPS) is mapped into a three-dimensional depth model. Our mold engineers establish exact height variances between the background base layer, raised graphic elements, micro-text details, and perimeter border channels. A solid brass or high-grade aircraft aluminum block is then cut using high-speed multi-axis CNC milling machines with tolerances down to ±0.1mm.
During micro-injection, liquid polymer liquid (PVC plastisol, liquid silicone rubber, or thermoplastic polyurethane) mixed with Pantone-matched pigments is automatically dispensed into the mold cavities layer by layer. Each color layer undergoes thermal gelling to set before subsequent colors are introduced. Once the multi-color face is cured through multi-zone heating ovens, the patch backing—whether a micro-sewing channel, hook-and-loop (Velcro-compatible) fastener, or TPU heat-seal film—is bonded during final compression molding.
The critical final step is contour die-cutting. A custom steel rule die or laser cutter shears away excess material, yielding a clean, razor-sharp perimeter that perfectly mirrors your brand logo's outer geometry.